
How to import 2D vectors into Cinema 4D and transform them into 3D
A few days ago a friend of mine asked me to help him with a project he had been assigned, in which he had to create 3D objects in Cinema 4D from 2D vectors that he created in Photoshop. So I thought of creating a short tutorial here; the process is not hard or time-consuming.
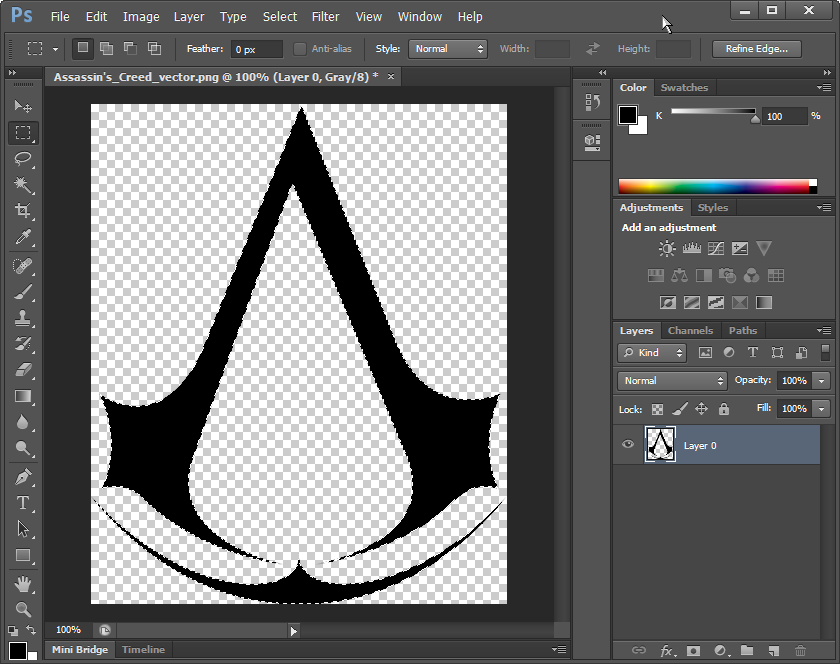
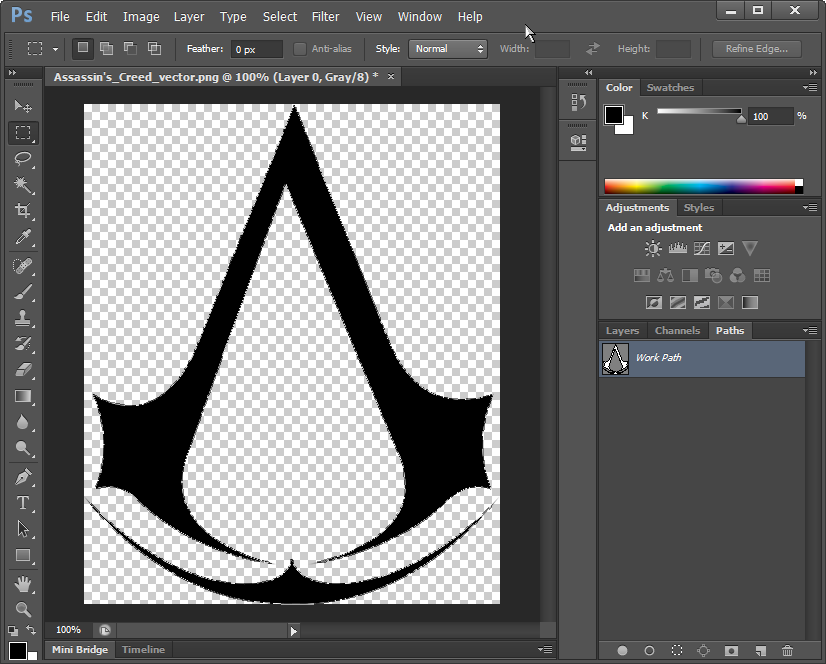
Credit for the vector I’m going to use for this tutorial goes to deviantArt user UtterlyLudicrus. So let’s begin by opening our vector in Photoshop:

Step 1
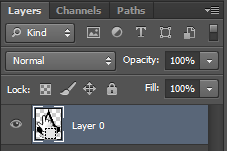
What we want to do first is make a selection of the logo that we want to make a 3D image of. To do this you can either hold down the Ctrl button in your keyboard (or the command button in if you’re a Mac user) and left-click on the icon next to the layer you’re working on (located in the ‘Layers’ pane):
Now as you can see we have made our selection:
Step 2
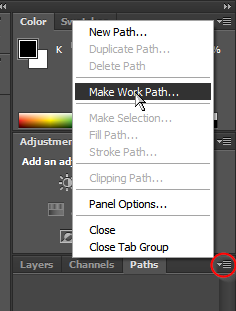
Next, we want to make a path from the selection. Click on the ‘Paths’ tab, then click on a small drop-down box that is located next to that tab and select the ‘Make Work Path’ item:
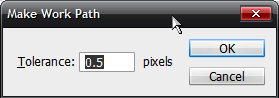
A small dialog box will open and ask you to enter a tolerance value, anything between 0.5 and 2.0 will do; just play with the numbers until you get what you like most. For my vector I’m going to use a value of 0.5:
And so we have created our work path:
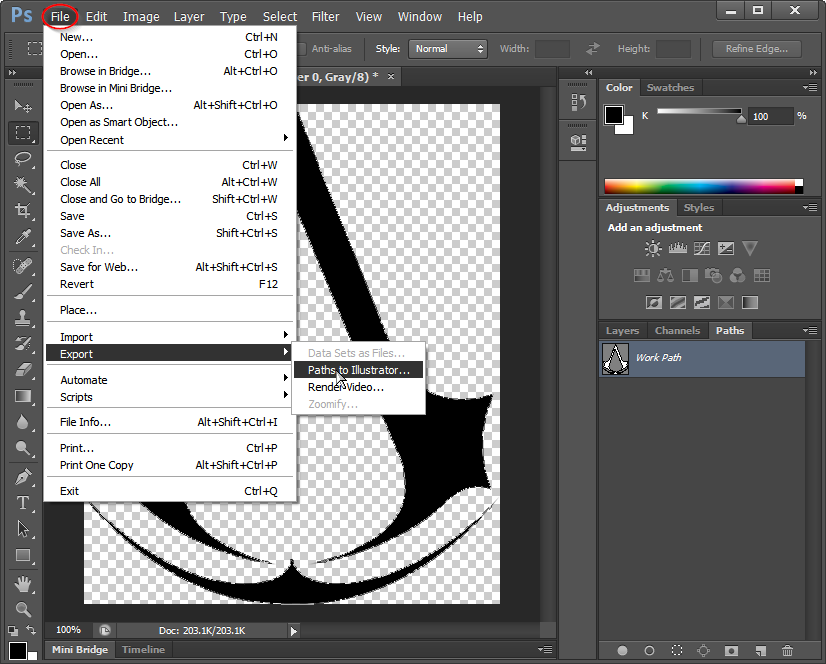
Step 3
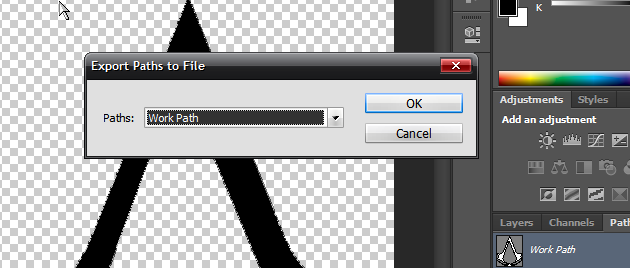
This is the last step we’re going to use Photoshop for; we want to export our paths as a file. To do this, go to ‘File’ -> ‘Export’ -> ‘Paths to Illustrator…’, click ‘OK’ in the dialog box that will appear and save your file wherever you want:
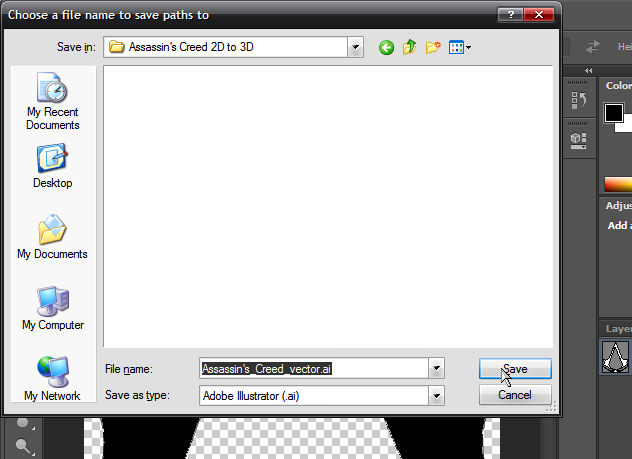
The file will be saved as an .ai (Adobe Illustrator) file. You can now close Photoshop if you want since we won’t be needing it anymore, and open Cinema 4D.
Step 5
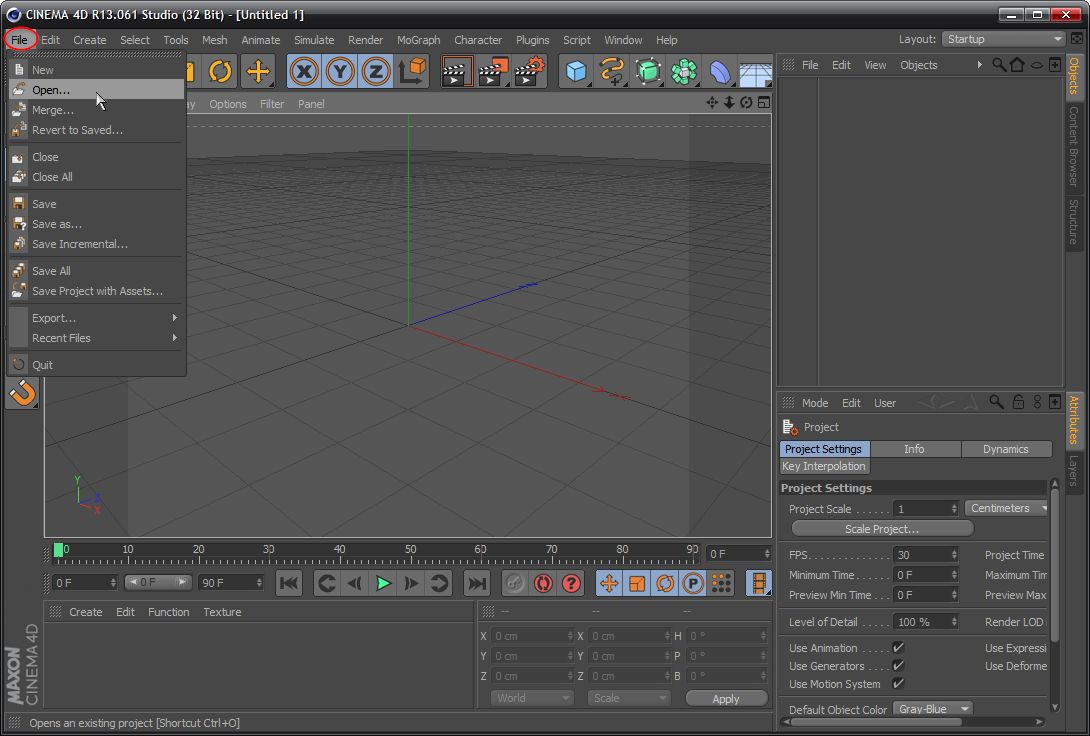
In Cinema 4D, GO TO ‘File’ -> ‘Open’ (or press Ctrl+O) and open the .ai file you saved earlier:
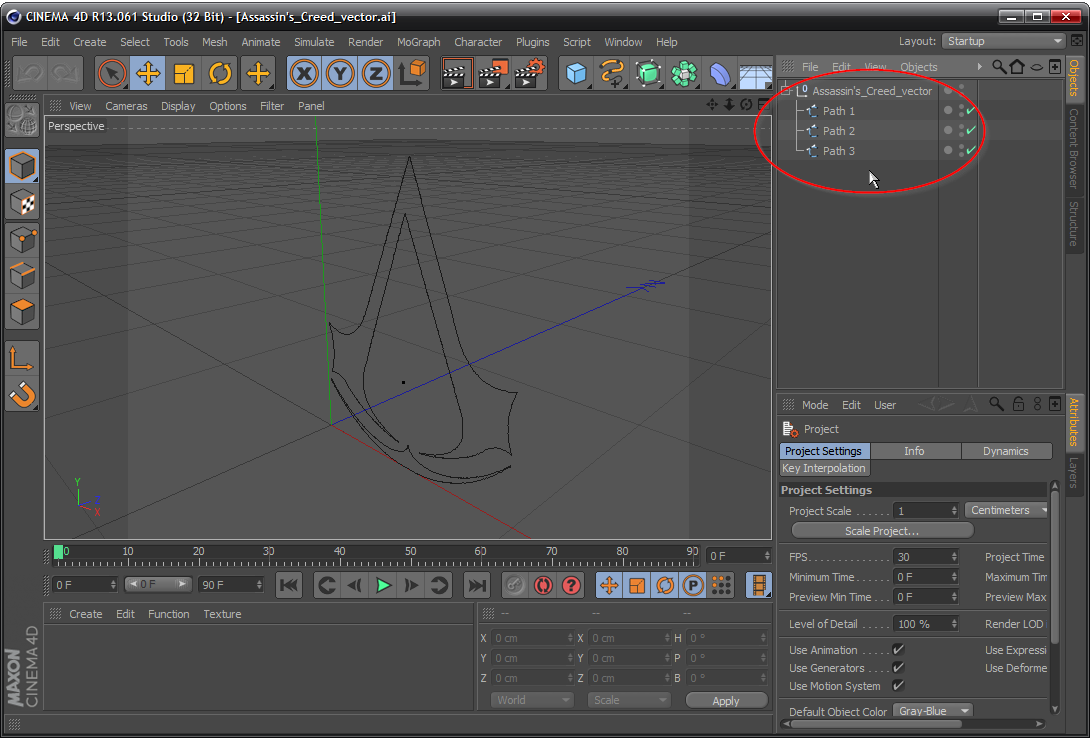
If a window opens after importing your file, just click ‘OK’ and proceed. You can then view the outline of your vector in 3D space as an object, which will be added in the ‘Objects’ pane located on the top right corner of the window. Click on the plus sign next to the object’s name in order to unfold its paths:
Step 5
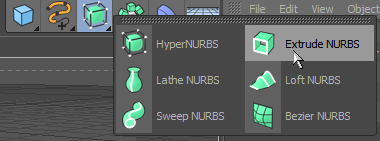
Now here comes the good part. In the toolbar, find an icon that looks like a green cube; leaving the cursor on top of it will display the caption “Add HyperNURBS Object”. For those who are using Cinema 4D version r15 and up, the “HyperNURBS Object” is called “Subdivision Surface”. Click on that button and hold it down to see a list of more “NURBS” objects; the one you want is called “Extrude NURBS” (or just “Extrude” if you’re using version r15 and above), so while holding down the left mouse button highlight it, and then it go. An equally easy way to add this object is from the menu bar, go to ‘Create’ -> ‘NURBS’ -> ‘Extrude’.
The Extrude object will be added to the objects pane, above your object:
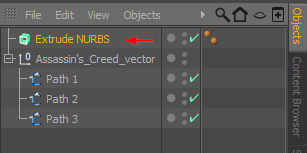
Attention: You need to add as many Extrude NURBS objects as your paths. I have 3 paths in my object, so I will have to add 3 Extrude NURBS objects.
Step 6
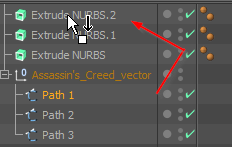
Drag each path into a different Extrude NURBS object so that it becomes a child of that object. It’s quite easy to do so, just drag the path on top of an object until you see a face-down arrow icon, then drop it:
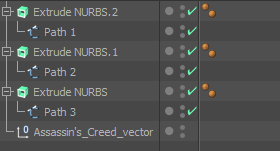
Do the same for all paths:
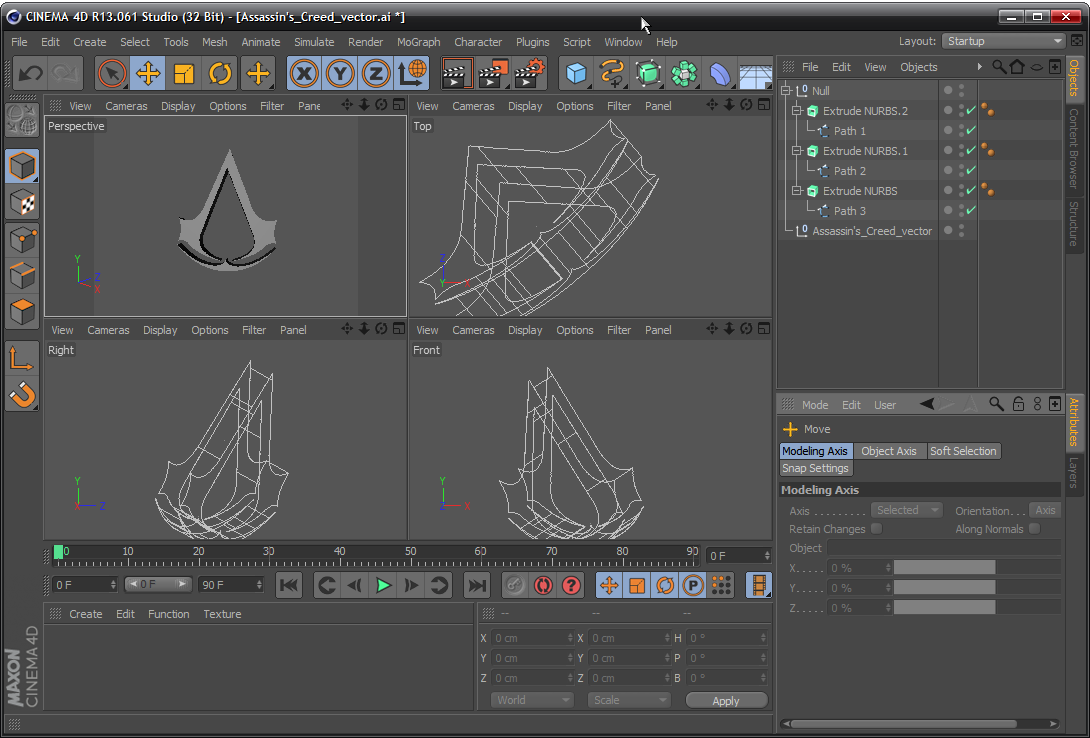
Each time you drag and drop a path to an Extrude NURBS object you will notice that the corresponding part of your 2D-object becomes 3D, and here is the result after you finish adding the paths to the NURB objects:
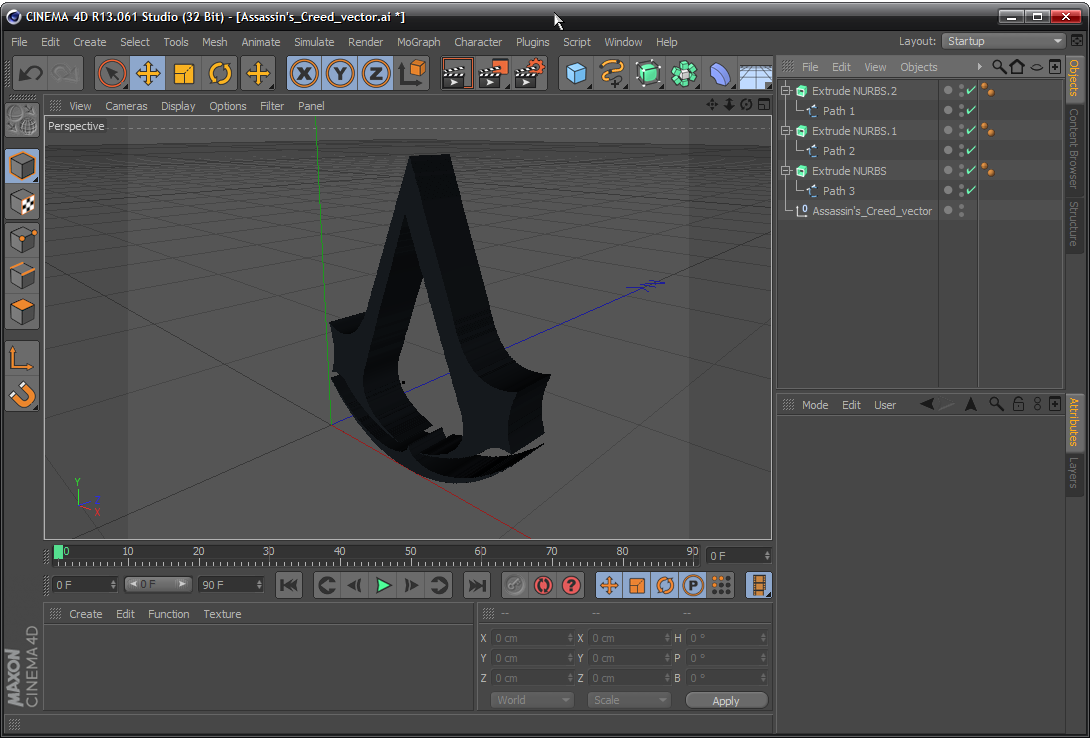
Pretty cool huh? That’s it, you’re done!
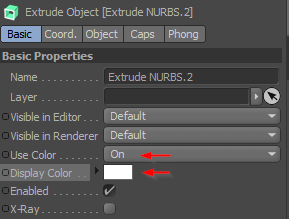
But you may want to further edit your object now, e.g. by changing its color. To do that, select the NURBS object, and from the pane in the lower right side of the window go to the “Basic” tab where you can see the “Use color” setting; change it to “On” and then change the color from the “Display Color” option below:
To view more your object from all perspectives (Front, Top and Right) go to the inner menu bar and then click on ‘Panel’ -> ‘All views’:
To render your model, press Ctrl+R or click on the camera button inside a frame, located in the toolbar:

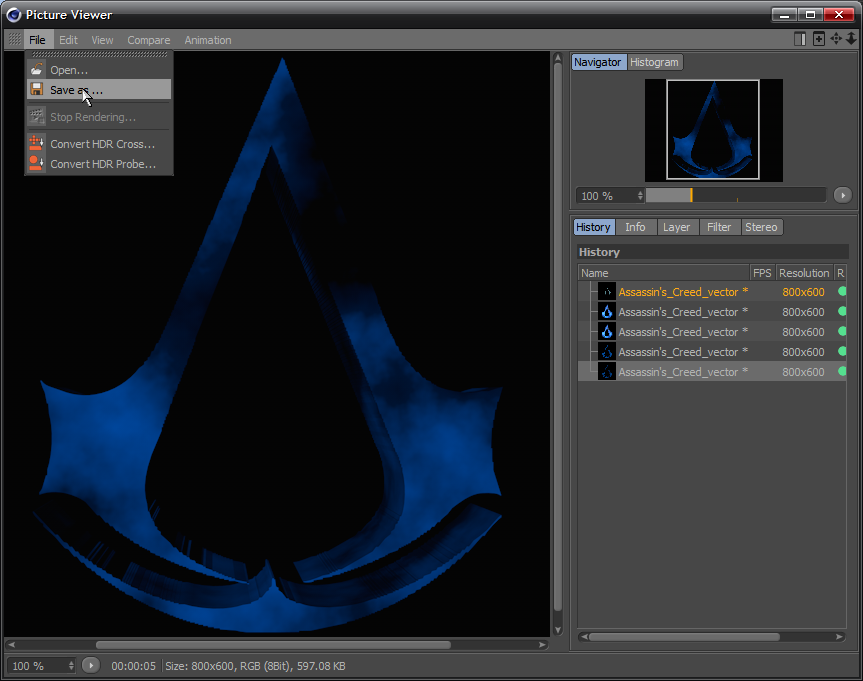
You can also render your model in the Picture Viewer by pressing Shift+R or navigating to “Render” -> “Render to Picture Viewer”. From there you can save the rendered image by clicking on ‘File’ -> ‘Save as…’.
That’s all for now! Don’t be afraid to mess around with the features and functions to get a better hang of the program. If you have any questions or need help, post in the comments below and we’ll help you out!