
How to Change the Default Install Location for Store Apps in Windows 10
Windows 10 Store apps have a default install location, which might not be so convenient for some users. Fortunately though, this default install location can be changed to another partition or drive in your computer, including SD cards, USB flash disks and external hard drives- then you can get rid of apps that exist in your SSD drive along with Windows 10.
Microsoft re-enabled this feature in build 10576 (it was disabled in previous builds).
Notes:
1. You can only pick partitions for installing your apps; you cannot choose subdirectories in them.
2. Apps which are already installed in the system will not be moved to the new install location- only new apps will be installed there. If you really want old apps in the new location, you’ll have to uninstall them first, and then reinstall them (after you have changed the install location of course). By doing this however, you can lose the app's data.
3. You cannot set the install location to be a mapped network drive.
4. There is no need to format a drive in order to use it for installing Store apps.
5. Disconnecting the drive you selected for installing apps will make the ones that have already been installed there to stop working, until you reconnect the drive again.
6. If you try to install a new app while the selected drive is disconnected, then the app will be installed to the default install directory, which is This PC in your C drive (%LocalAppData%\Packages, or C:\Users\USERNAME\AppData\Local\Packages, where USERNAME is the name of your account). As you can guess, they will not be moved to the other directory when it is available again- they will stay where they were installed.
7. New Store apps will be installed inside a new folder in the drive you selected, named WindowsApps. This folder will be encrypted with Encrypting File System (EFS), so that only your account will be able to access it.
Changing the Default Install Location for Store Apps in Windows 10
In order to select another location for installing new apps, all you have to do is navigate to the corresponding setting in Windows 10- no need to mess with the registry or policies.
Step 1: Go to Settings
Open the Start menu and select Settings.

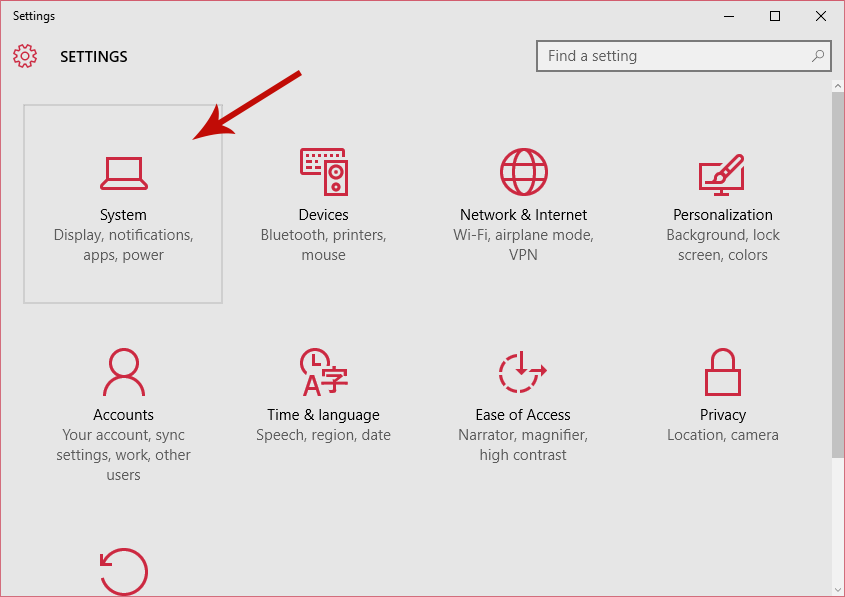
Step 2: Select the “System” Option
In the Settings window, click on the System option.
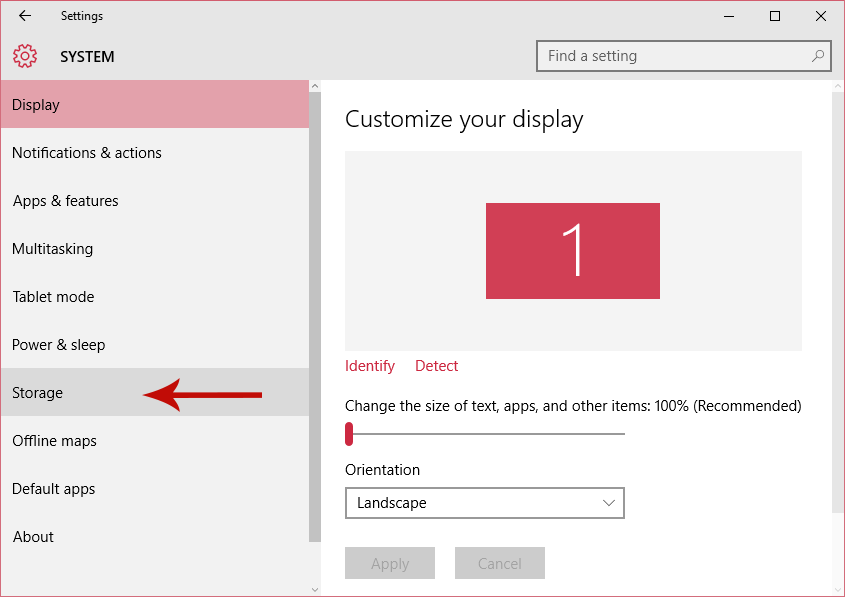
Step 3: Highlight the “Storage” Item
From the System settings window, click on the Storage item from the sidebar.
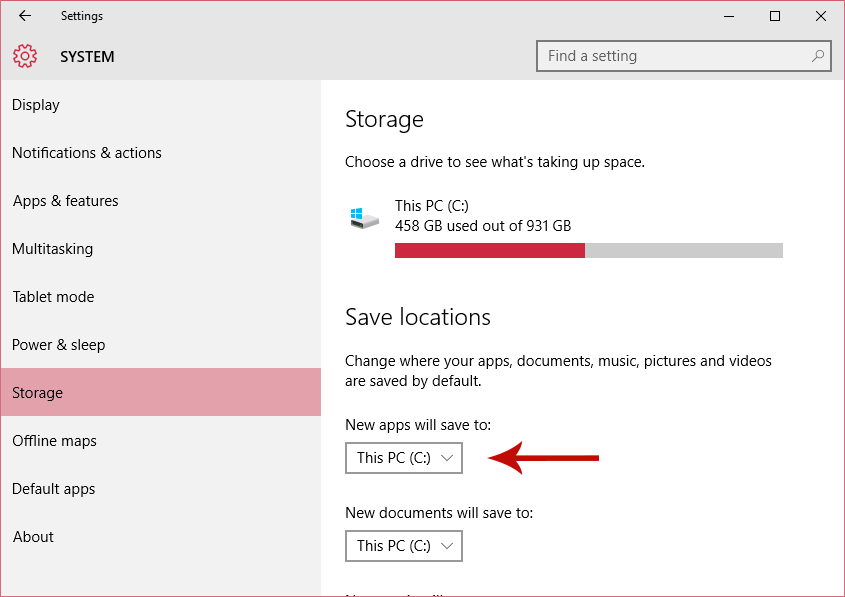
Step 4: Change Apps Install Location
Now, in the Storage configurations screen and under the Save locations heading, you can see an option that reads “New apps will save to:”, along with a dropdown box. All you need to do is click on that dropdown box and select the desired install location from the list of drives that appear.
That’s all, now close the window and try installing a new app to verify that it goes inside the WindowsApps folder inside the selected drive.
If you have a suggestion or problem, don't hesitate to let us know in the comments section below!