How to transfer files between Bluestacks and a Windows desktop PC
If you've been using the BlueStacks App Player to run Android on your Windows PC, you're probably wondering how you can transfer files between BlueStacks and your computer. The process isn't exactly obvious, but once you know how it's done, it's very simple.
Location of Shared Folder in Windows
As long as you're using a recent version of BlueStacks, there should be a shared folder on your Windows 10 PC at the following location:
<BLUESTACKS_DATA>/Engine/UserData/SharedFolder
In older versions of Windows (i.e. - Windows 8, 8.1, and 7) the folder may be located at <BLUESTACKS_DATA>/UserData/SharedFolder
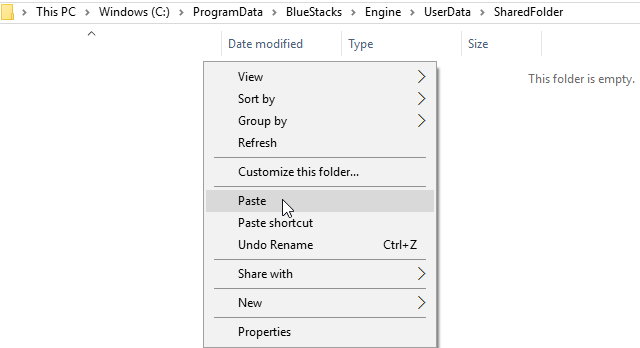
Note:<BLUESTACKS_DATA> is located at C:/ProgramData/BlueStacks by default, but if you chose a different location during installation then it would be there instead. Here's what it looks like in Windows File Explorer:
Location of Shared Folder in BlueStacks
Within BlueStacks you can also find a shared folder, but you'll need to install a file manager app like the popular ES File Explorer before you can actually view the folder, which is located at:
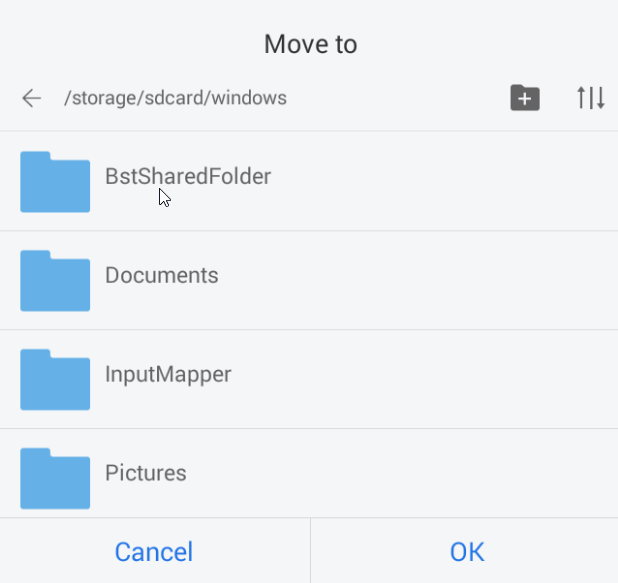
/sdcard/windows/BstSharedFolder
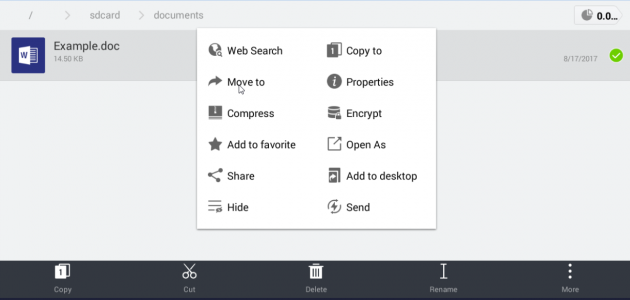
Here's what it looks like in ES File Explorer:
How to Manually Transfer Files Between BlueStacks and Windows
Now that you know the locations of these folders and you have a file manager app handy in BlueStacks, you can follow these simple steps to transfer files back and forth:
In Windows
By default you can already access your Windows Documents and Pictures folders within ES File Explorer in BlueStacks, but if you're trying to import a file in Windows that is located somewhere else, you'll need to follow these steps to be able to view it in BlueStacks:
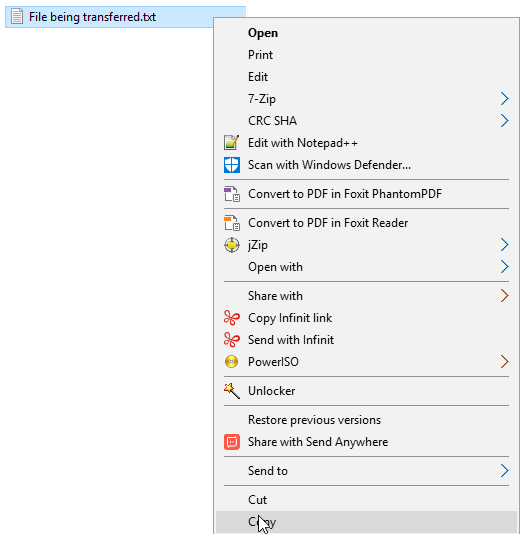
1. Open File Explorer in Windows, navigate to the file you want to transfer, right-click it, and copy it.
2. Paste the file into the BlueStacks shared folder (location mentioned above), or move it to your Documents or Pictures folder in Windows so that it will be accessible in BlueStacks:
In BlueStacks
1. Open ES File Explorer and navigate to the location of the file you want to transfer, left-click on it and hold down the mouse button until you see a green check box next to it.
2. Click the More button in the bottom right corner, and then select Move To
3. Move the file to the BstSharedFolder.
The file should now be accessible within the BstSharedFolder in Windows.
Easier Way to Import Windows Files into BlueStacks
Alternatively, you can use the Import Windows Files feature in BlueStacks to bring files from Windows into BlueStacks. Here's how:
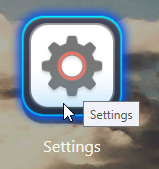
1. Open the BlueStacks Settings app
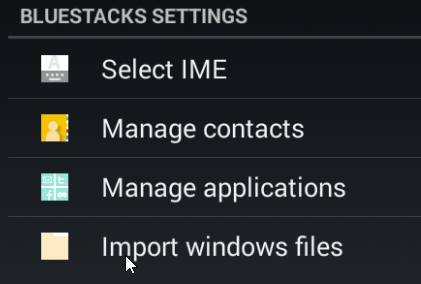
2. Scroll down and click on the Import Windows Files option
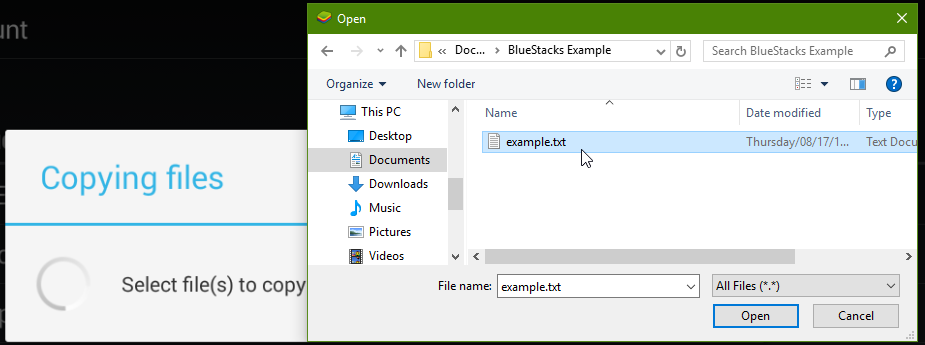
3. Navigate to the file(s) you want to import, select them, and press Enter
Congratulations, with all of the info above you should be able to transfer any file to/from any location within Windows or BlueStacks. Feel free to leave any questions or suggestions in the comments section below.


