
How to Fix the "Setup Couldn't Start Properly" Error Message in Windows 10
Many users have come across the following message when trying to use the Media Creation Tool or the Windows 10 ISO file in order to upgrade their systems to Windows 10:
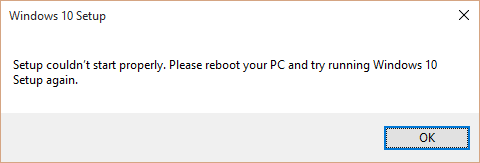
Setup couldn’t start properly. Please reboot your PC and try running Windows 10 again.
Rebooting isn’t known to actually solve the issue, however. Luckily though, fixing the error in most cases is quite easy, so if you’re one of the users who are trying to upgrade and received this error, then read the method below for fixing it and continue with the upgrade process.
Fixing the “Setup Couldn’t Start Properly” Error in Windows 10
The problem usually occurs when there are some corrupt upgrade files due to a failed Windows 10 download/installation. If for example, the Media Creation Tool is force-closed for whatever reason (e.g. power failure) while the installation is in progress, then it’s quite possible that you will receive this error next time you try to run it.
Here are the steps you need to follow to fix the problem:
Step 1: Enable Hidden Files and Folders
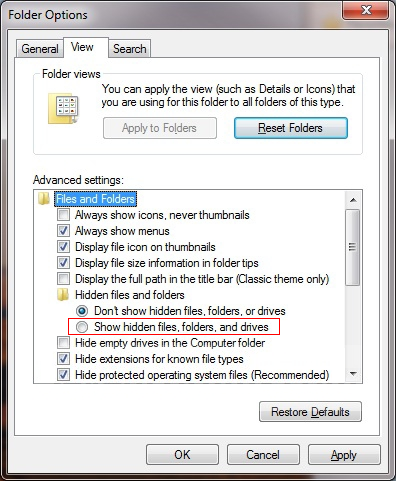
First you need to enable hidden files and folders. Windows 8/8.1 users can do it by following this tutorial, while Windows 7 users should click on the Start button > Control Panel > Appearance and Personalization > Folder Options, then click on the View tab and under Advanced settings click Show hidden files and folders.
Step 2: Find and Delete Folders with Corrupted Data
Now with the hidden files and folders enabled, go to your C:\ drive (assuming C is the drive in which Windows is installed) and locate the following folders:
$Windows.~Ws
$Windows.~BT
windows.old (might not exist)
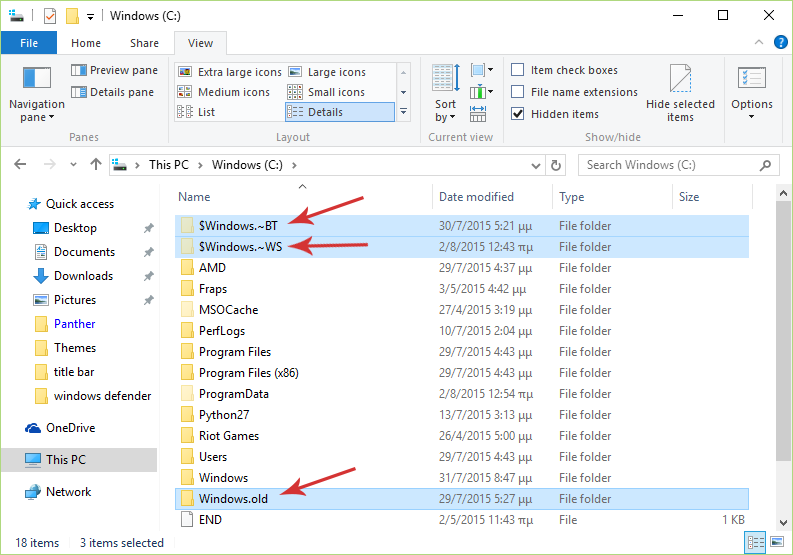
These folders contain all the data and temporary files required for the upgrade, and must be deleted for the problem to be fixed. So select those 3 folders and delete them (you can copy them to another location first as a backup, in case something goes wrong).
Step 3: Try Upgrading Again
You can try running the Media Creation Tool now, and it should work this time. If not, reboot and try again- it will most certainly work.
Problems You May Encounter During and After the Process
The folders cannot be deleted.
You might receive the following error message when trying to delete the folders:
The action cannot be completed because the folder or file in it is open in another program.
In other words, you cannot delete the folders directly, so you have to enter Safe Mode in order to do so.
The folders are deleted, but the problem persists.
This is a less usual case but there are some things you can try:
- Try running the Media Creation Tool as an Admin. If this doesn’t work, then try running the tool as a different user (your profile might be “corrupted”, meaning that you need to login as another user to upgrade).
- Change your Region to US, and Language to English, United States. It has been reported that this fixes the problem for some users.
Hopefully you will be able to upgrade now without further problems. If you have any questions or suggestions, don’t hesitate to post in the comments section below!
