
How to Generate Your Own Images with DeepDream, Google's New Open Source Tool for Visualizing Neural Networks

This is just one example of what DeepDream sees in an image depicting the Twin Towers (Image: Matěj Schneider)
A few weeks ago the official Google Research Blog was updated with this post, which was rather awesome and talked about a new tool developed by Google, which goes by the name DeepDream (a pretty fancy name actually). No more than a couple of weeks afterwards another post came in the same blog to provide this tool to the world.
In simple words, DeepDream is a program that uses Google’s Artificial Neural Networks (ANNs) in order to visualize what exactly it sees in an image. You feed the program an image, and the program sends it back and shows you what it sees in that image. DeepDream was developed by Alexander Mordvintsev, Christopher Olah and Michael Tyka (software engineers at Google).
The resulting images are quite trippy (I'm sure you've noticed that they're not exactly normal), as if they were coming out of a dream (or a nightmare, to be more accurate); thus they called it DeepDream.
We all know how Google likes to be the leader in most fields that have to do with computer science, especially Artificial Intelligence, and this new technological achievement is no exception. So we're going to learn what DeepDream is exactly DeepDream, what is its purpose and how you can use it to generate your own images (scroll towards the end of the article for the last one!).
What Is DeepDream?
Firstly, I would like to note that DeepDream is the code which applies the technique we’re going to describe below and is written in Python.
Let’s take it from the beginning then. Initially, the aforementioned software engineers at Google Research created an artificial neural network that consists of 10-30 stacked layers and was trained with millions of images from a specfic dataset (one that contains many animals, that is!) which were classified into several different categories. The training process was performed by giving an image to the input layer of the neural network, letting it be processed in each layer- storing values of various parameters depending on the image’s properties, until it reached the output (final) layer.
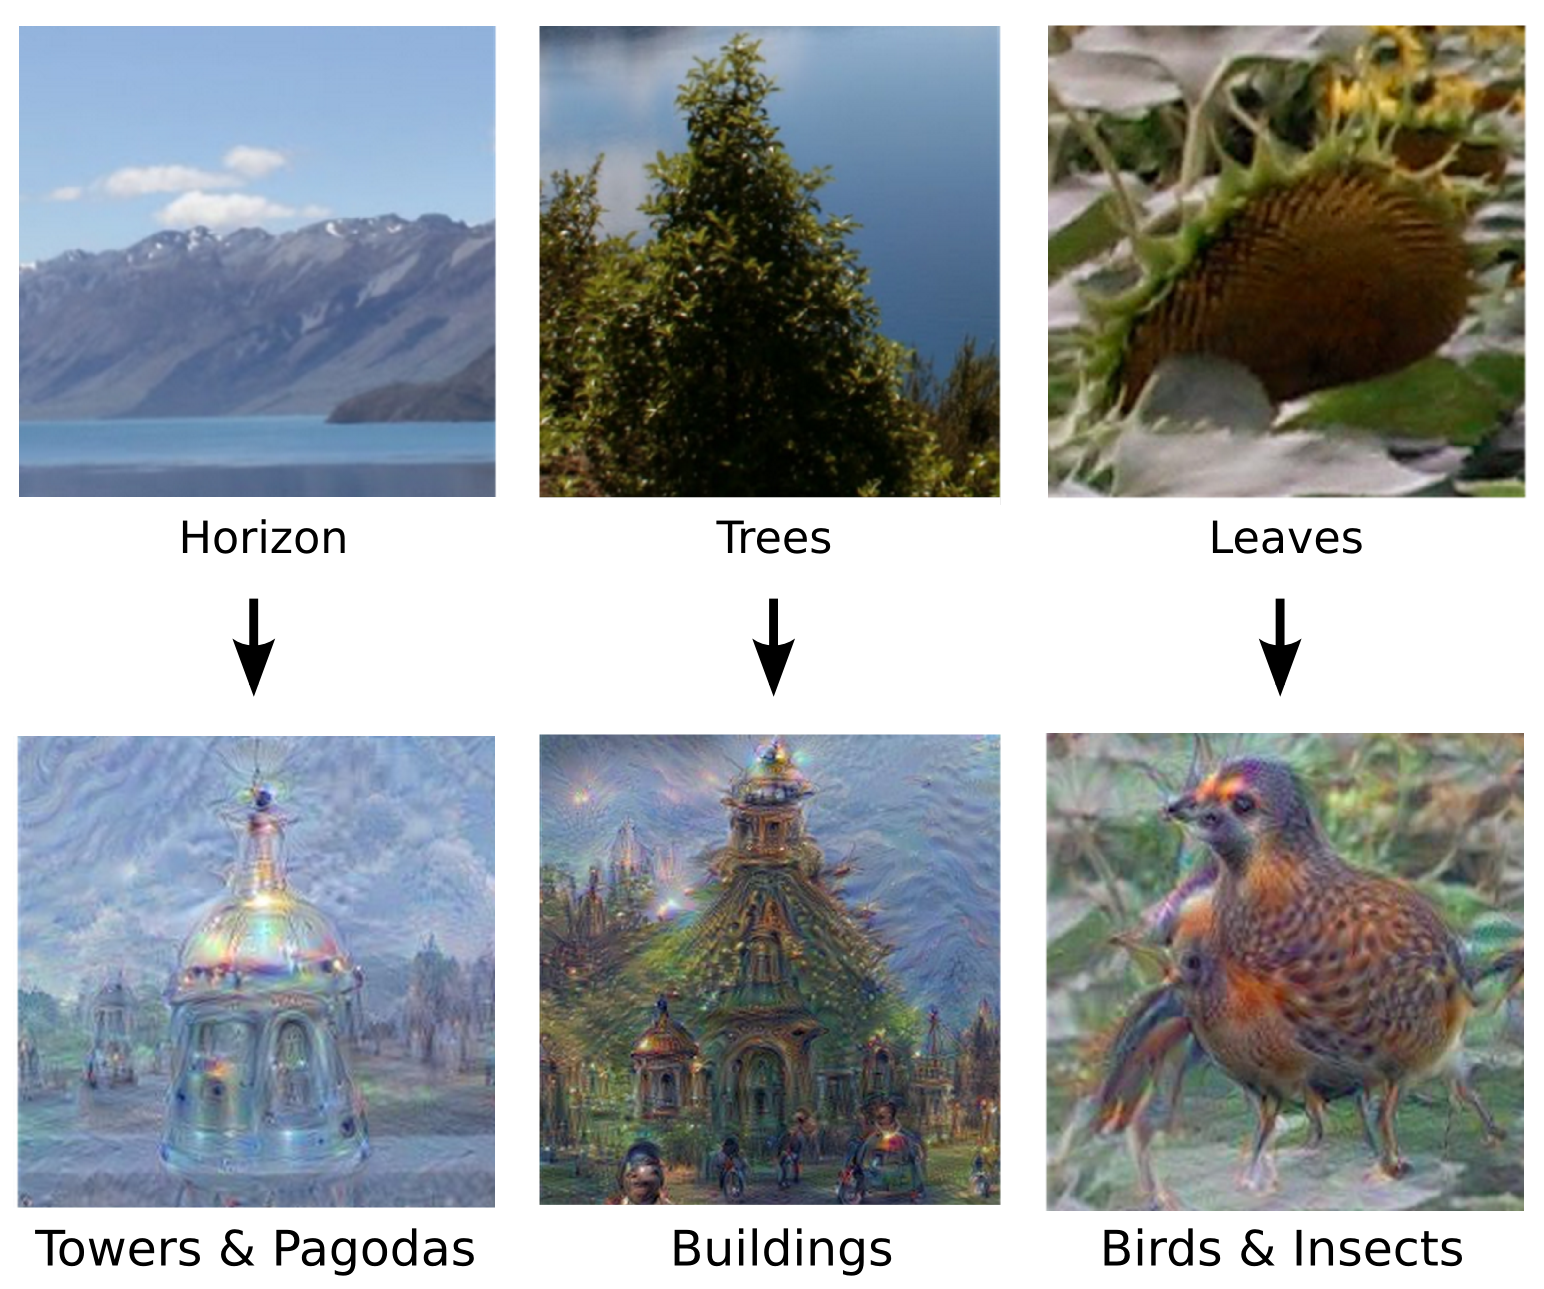
Here is the problem though: it’s not exactly known what exactly goes on when a layer processes the image. It has been presumed though that during the first layers the neural network “learns” about basic properties of the image- such as lines, edges and corners, whilst towards the final layer of the network more complex properties are “learned”- up to the point that the network is able to interpret whole buildings or animal figures.
You can imagine where this is going, right? If the network can extract features of an object in an image, why not just "ask" it if it can generate an image that depicts an object, all by itself? Well, the proposed example in Google’s blog post suggests that it could happen by taking an image full of random noise, and tweaking it gradually in order to look more of what the neural network perceives as that object (a banana in this example), i.e. amplifying what the network saw. By applying some extra constraints manually, the results looks pretty good, if you ask me:
 By tuning the parameters in the neural network it can produce what we asked it to produce (a banana)
So, the main result here is that the network stores features from the images and can reproduce them. In fact, they can learn what features matter in an image (e.g. two eyes in an animal), and what features don’t (the animal’s color).
But the fun doesn’t stop there. Google devs tried to feed the network typical images/photos instead of random noise-images, and then picked one of its layers so as to ask the network to amplify whatever was currently detected. As we mentioned above, the first few layers know only simple image features, and the last layers know more complex features. Therefore, if for example we pick one layer which identifies something (or some things) in an image and ask the network to amplify it, then let it process the image further (until it reaches the last layer) and run the network again and use the generated output image as the input image, it's quite reasonable that it will identify the object with even more confidence; running this iterative algorithm several times (i.e. start with an existing image, amplify detected objects in one of the layers and use the output image as the input image in the next iteration) will finally produce something that strongly resembles what the network initially "had in mind". This technique is called Inceptionism, in reference to the neural network architecture used.
Examples Of Results
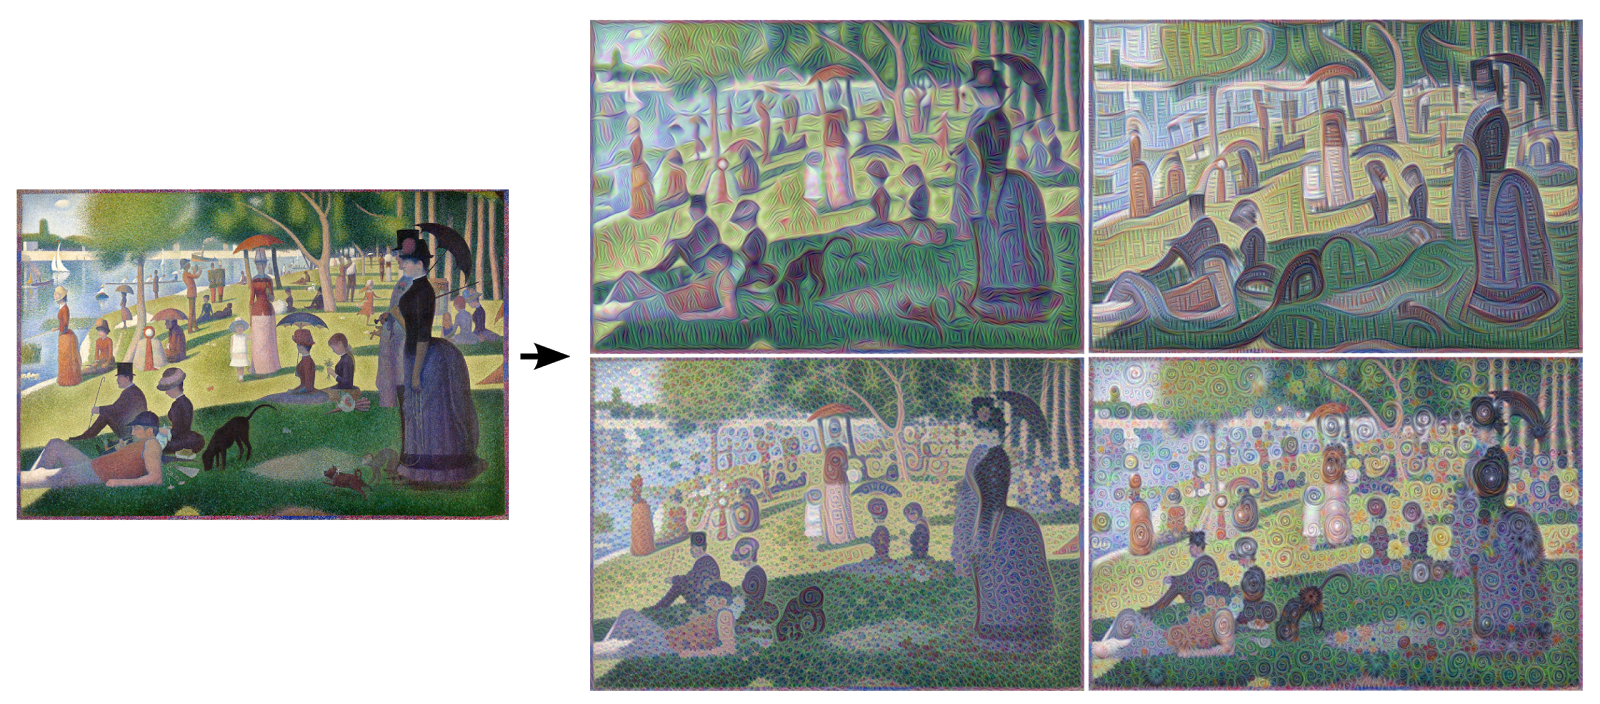
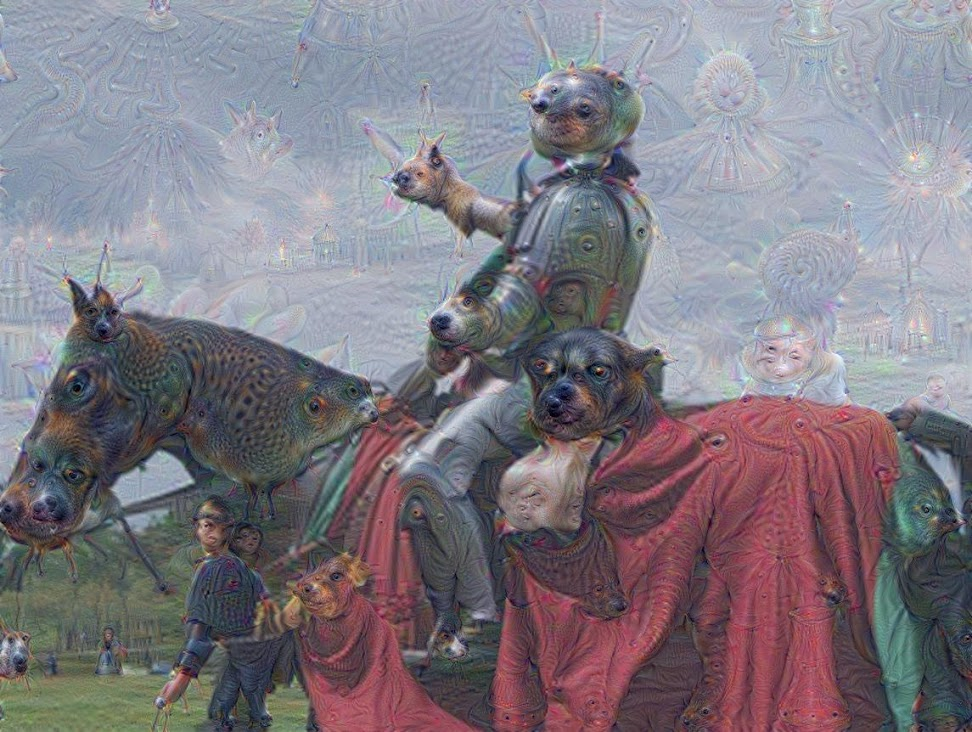
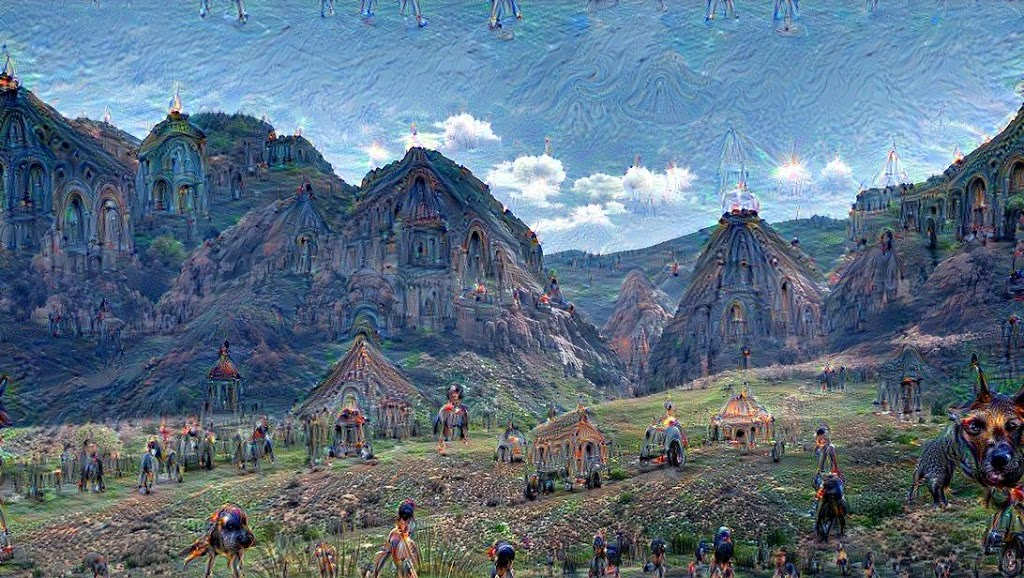
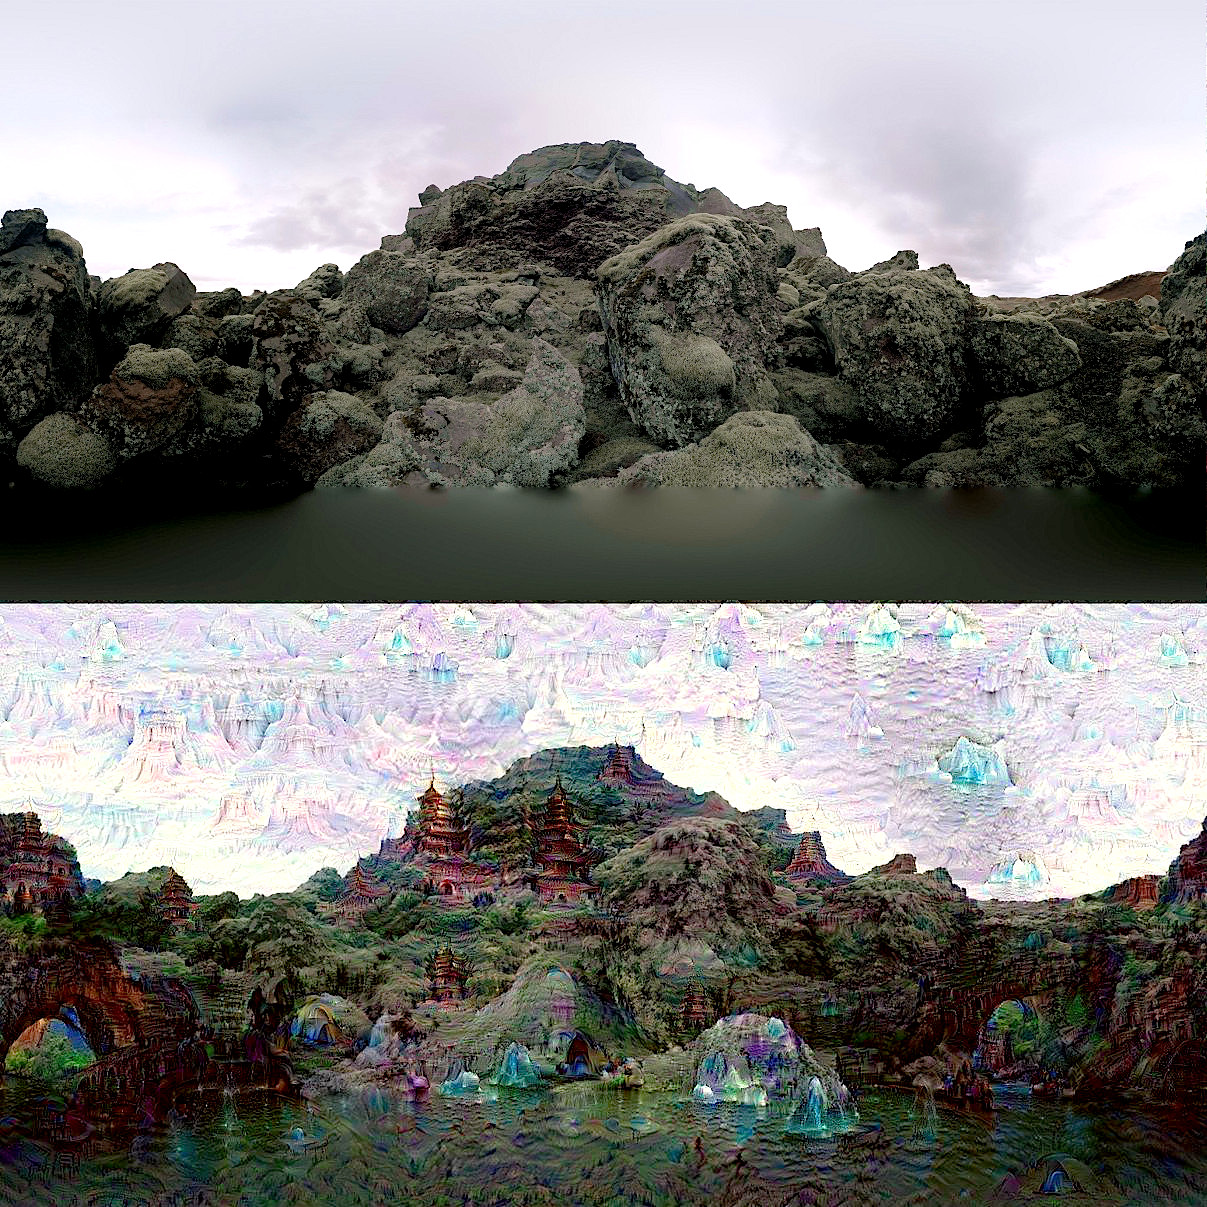
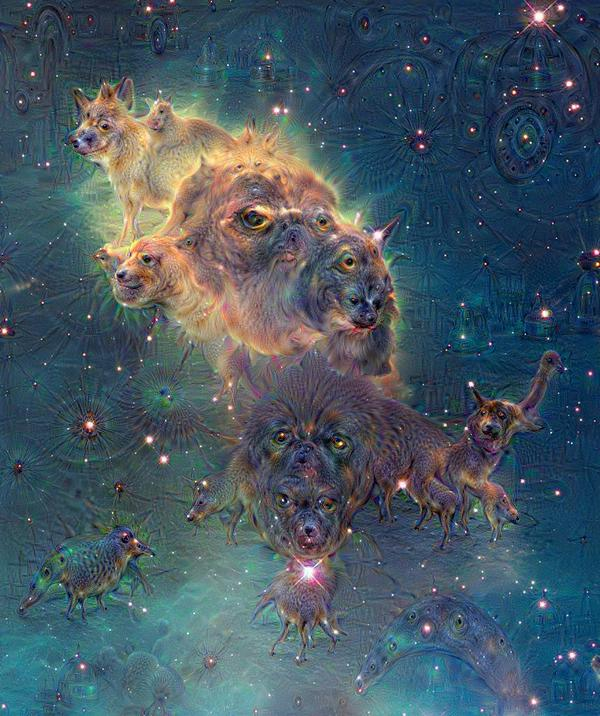
Below are some more examples of DeepDream’s output images. You can find the whole "official" Inceptionism gallery here, and if you want to see results from several other users just search for "DeepDream images" or use the #deepdream hastag in Twitter:

Others took it further and created animated GIFs using the program:
(Credit: Ross Goodwin)
And others proceeded even more and created videos too, like the one below. It is "the Great Acid Wave" scene taken from the movie Fear & Loathing in Las Vegas:
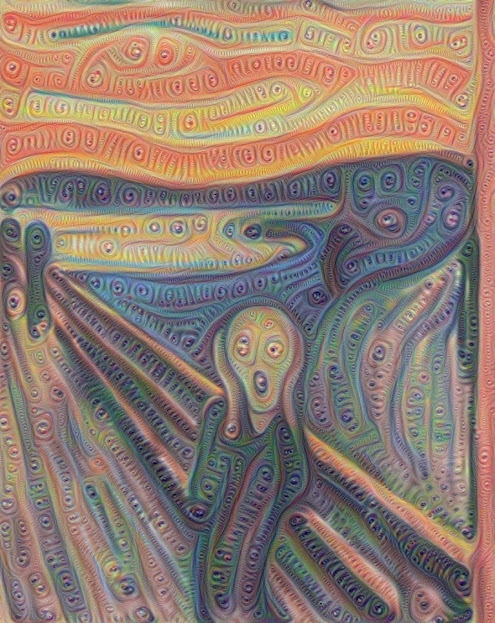
Artists couldn't be missing from all this of course- take a look at this guy right here, who uses DeepDream to produce paintings.
How Can I Use DeepDream to Generate My Own Images?
After the first announcement and results from DeepDream, its developers decided to let the world use the tool freely due to the huge interest shown by developers, artists and hobbyists. So here are three different methods for generating your own DeepDream images.
Method #1 (Easy): Use an Online Service
With this method all you have to do is visit the online services below, upload your images and wait for them to be processed:
- Physic VR Lab (your image will be displayed at that web page or in this Twitter profile when it’s ready)
- http://deepdream.akkez.ru/ (you will be notified by email when your image is ready)
- http://deepdreams.zainshah.net/ (output image will be displayed in the same website when it’s ready)
- http://deepdream.pictures/static/#/ (not accepting any more new images due to big queue)
- DeepDreamIt (output image will be displayed in the website when it’s ready)
- DeepDreamr (you will receive a link that will display the output image once the processing is over)
New ones keep appearing continuously, but those are the most popular ones so far. Note that due to heavy traffic in the above services and the large number of images that they have to process it could take several hours before your image is ready.
You can also make requests here.
Method #2 (Medium): Do It Semi-Manually
This guy right here has done more than half of the work for you, packaged the code with all required dependencies and stuff, so all you have to do is set up his package in your computer. It’s way easier than method 3, so try this one if you’re not willing to sacrifice a lot of time setting up the whole program yourself.
Method #3 (Hard): Do It Manually
(Guide taken from here)
First of all, you must have an NVidia graphics card and it must be included in this list, otherwise you won’t be able to use Caffee. If you’re really desperate about it you can still use your CPU for this purpose, but it will be quite slower.
Mac OS X
Then:
- Install Anaconda, since it has all the Python stuff you will need (Python itself included).
- Install Homebrew Package Manager if you don’t have it already, unless you have another package manager installed.
- Install XCode if you don’t have it already (if after running 'xcode-select --install' your XCode is updated then run that same command again).
- Check if you have clang by typing ‘clang –help’ into the terminal. If you don’t have it then install it through homebrew.
- Download and install CUDA 7 (If you receive the "CUDAMacOSXInstaller is an application downloaded from the Internet" error and can't proceed, go to System Preferences -> Security & Privacy -> General -> (unlock) -> Allow apps downloaded from anywhere, and run CUDAMacOSXInstaller again), then test the installation running the following verification steps in the terminal:
export PATH=/Developer/NVIDIA/CUDA-7.0/bin:$PATH
export DYLD_LIBRARY_PATH=/Developer/NVIDIA/CUDA-7.0/lib:$DYLD_LIBRARY_PATH

#check that this gives some sort of output and that driver works

kextstat | grep -i cuda

# now test compiler, does this give output?:

nvcc -V

# now test complier by building some samples:

cd /Developer/NVIDIA/CUDA-7.0/samples

# now run these _individually_ and check that there are no errors. I used sudo for each...

make -C 0_Simple/vectorAdd

make -C 0_Simple/vectorAddDrv

make -C 1_Utilities/deviceQuery

make -C 1_Utilities/bandwidthTest


# now we check runtime.

cd bin/x86_64/darwin/release

./deviceQuery

# check output matches Figure 1 in 'verification steps' link above

./bandwidthTest

# check output matches Figure 2 in 'verification steps' link above
- Install Caffee’s dependencies and Caffee. It’s a tough procedure so make sure you check these tips if you get stuck.
- Get Google Protobuf.
- Follow the final steps here to run the code.
Unix
Detailed instructions for setting up DeepDream in Ubuntu can be found here.
Windows
Detailed instructions for setting up DeepDream on a Windows machine can be found here. Fortunately it’s a straightforward procedure and isn’t very hard to perform.
So, that’s what you basically need to know about DeepDream and how to use it in order to create your own images. We wouldn’t mind if you shared them with us in the comments section below (we like creepy stuff). We're also open to suggestions, opinions, corrections and all kinds of comments, so don't hesitate to leave a message!