
How to Uninstall and Block Windows Updates and Drivers in Windows 10
Many users report that they’re experiencing issues with drivers and updates in Windows 10 (and others just don't like the way updates are delivered in Windows 10). The common solution that usually works is uninstalling Windows drivers and updates which cause problems, blocking them from being reinstalled again, and then installing custom ones (if the case of drivers). In this article we’ll cover all of those topics so that you solve whatever problem you may have with updates and drivers in Windows 10.
For easier navigation, you can click on the links below to jump to a particular topic instead of scrolling throughout the whole article:
- Viewing Recently Installed Updates and Drivers
- Uninstalling an Update
- Uninstalling a Driver
- Preventing Driver Software from Being Installed via Windows Update
- Preventing Specific Updates from Being Installed in the Future
Viewing Recently Installed Updates and Drivers
First of all, you might want to see all the updates and drivers installed by Windows so as to identify the one that started causing your problem and remove it. Here’s how to do it:
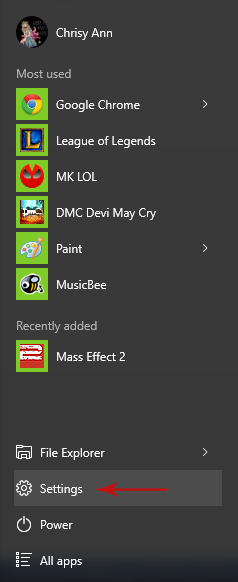
Step 1: Go to Settings
Open the Start menu and select Settings.
Step 2: Select ‘Update & Security’
From the Settings app, select Update and Security.

Step 3: Open the Advanced Options in ‘Windows Update’
Under Windows Update in the sidebar, scroll down and click on Advanced Options.
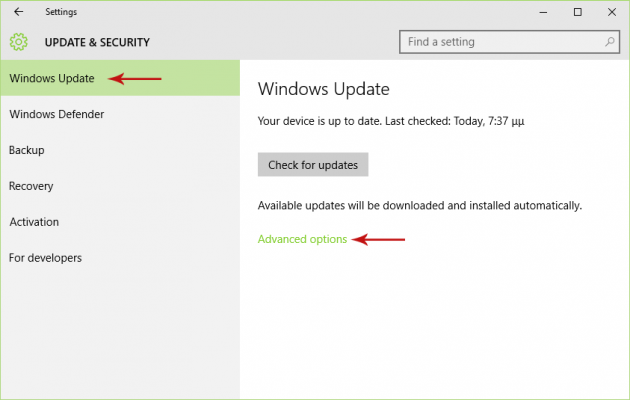
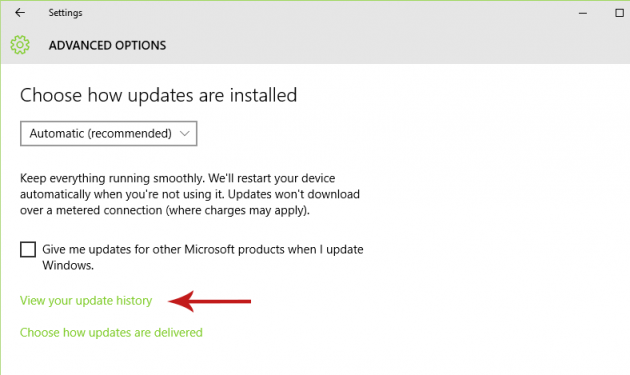
Step 4: View Update History
In the Advanced options screen, find and click on the View your update history link.
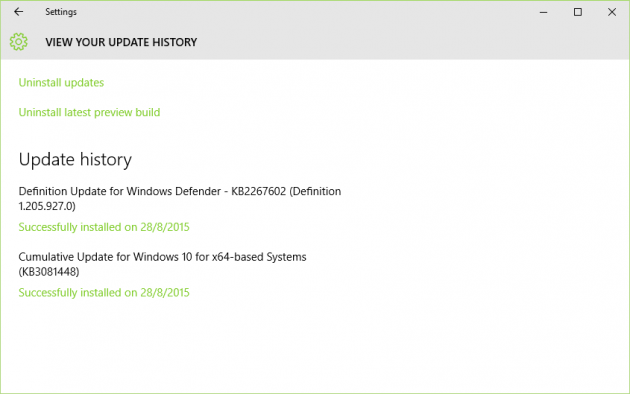
This window will display a list of all installed updates and drivers installed by Windows in chronological order. Once you locate which one is causing problems for you, go to the next section for how to remove it.
Uninstalling an Update
Now let’s see how to uninstall a Windows update that’s causing you problems (or just want to get rid of for other reasons).
Follow Steps 1-4 from the previous section (Viewing Recently Installed Updates and Drivers) and then:
Step 5: Click on ‘Uninstall Updates’
In the window that lists the installed updates (Step 4), click on the Uninstall updates link located at the top to open a new window.
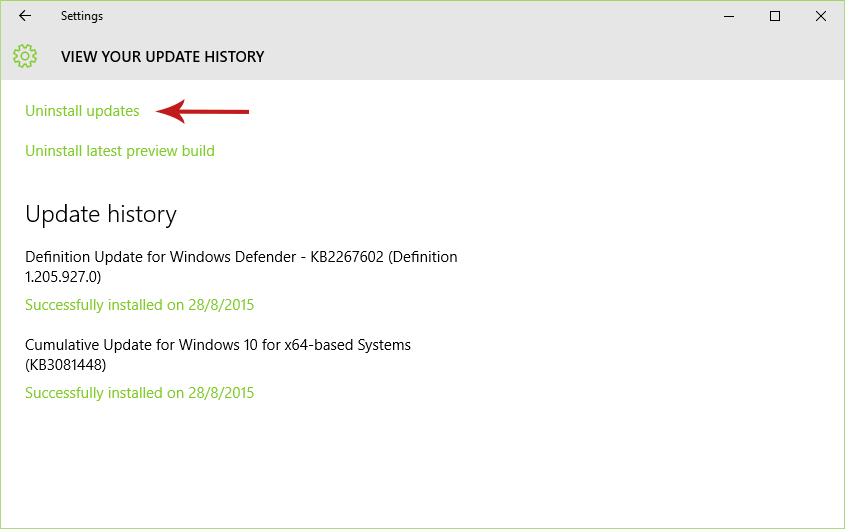
[Note: You can also uninstall the latest preview build instead of particular updates, and go back to the previous most recent one.]
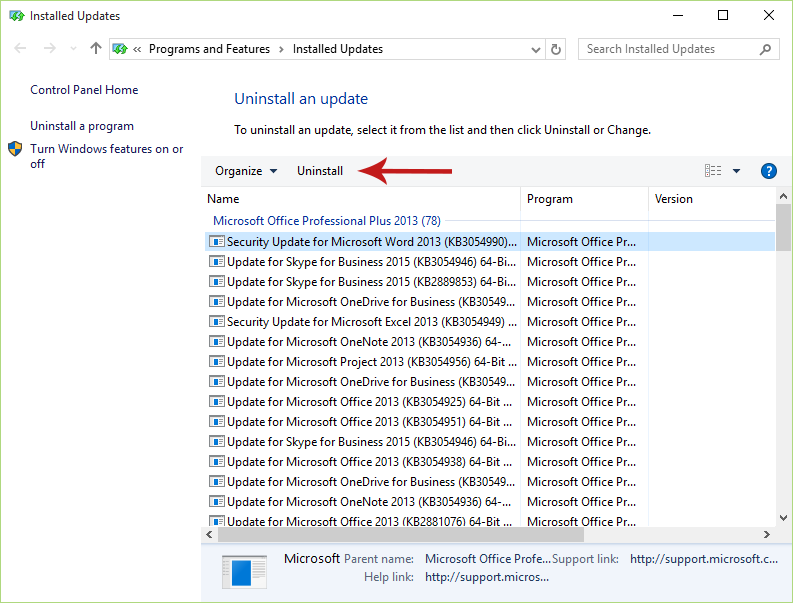
Step 6: Uninstall Updates
Here you will see a list of all installed updates like before, but now you are able to uninstall them as well. Simply select the update you want to remove and click the Uninstall button.
Uninstalling a Driver
You’ve already uninstalled updates, but you might want to remove problematic drivers as well, in order to install your own drivers afterwards. This is done quite easily actually:
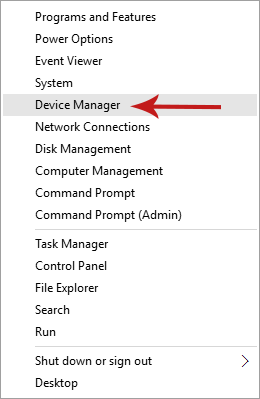
Step 1: Open Device Manager
Right-click on the Start menu or press Win + X (“Win” is the Windows button in your keyboard), and then select Device Manager.
Step 2: Uninstall the Unwanted Driver
In the Device Manager find the device with the driver you want to uninstall, right-click on it and select Uninstall. In the dialog that will appear check the “Delete the driver software for this device” option and click OK.
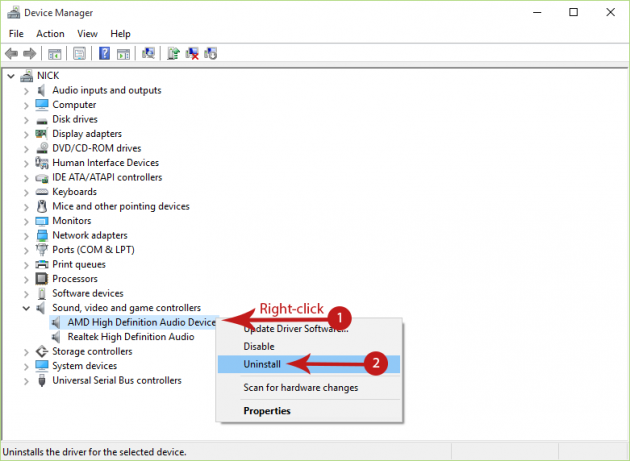
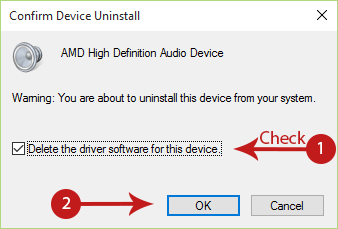
Now you have successfully uninstalled the device's driver that was downloaded and installed via Windows Update, so you can install your own drivers instead.
Preventing Driver Software from Being Installed via Windows Update
Windows 10 (as well as previous versions of Windows) has a built-in setting that allows you to select whether you want driver software to be automatically installed from Windows Updates or not. This setting however is not always guaranteed to work, since some users report that it is often overridden and Windows Update installs driver software anyways.
You can give it a try though, and here is how:
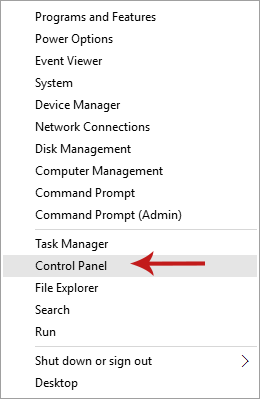
Step 1: Open the Control Panel
Right-click on the Start menu or press Win + X (“Win” is the Windows button in your keyboard), and then select Control Panel.
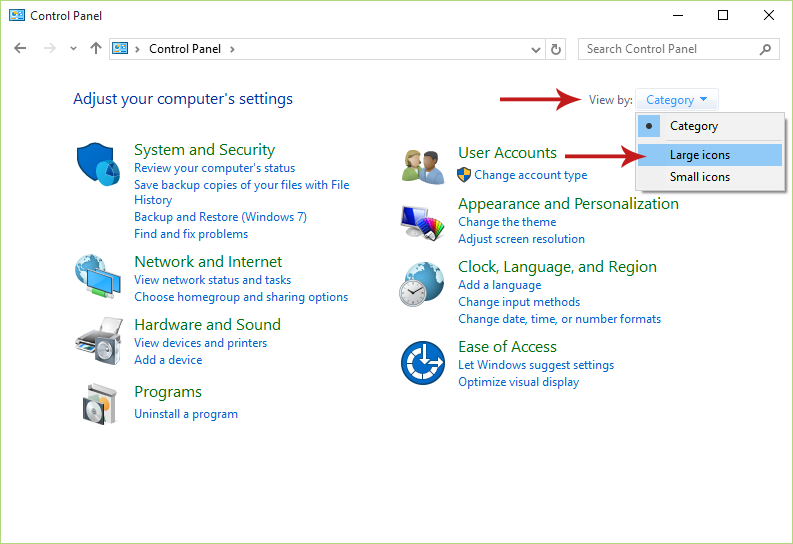
Step 2: Change to Icons View
Click on the View by link at the top right corner of the window, and select Large icons.
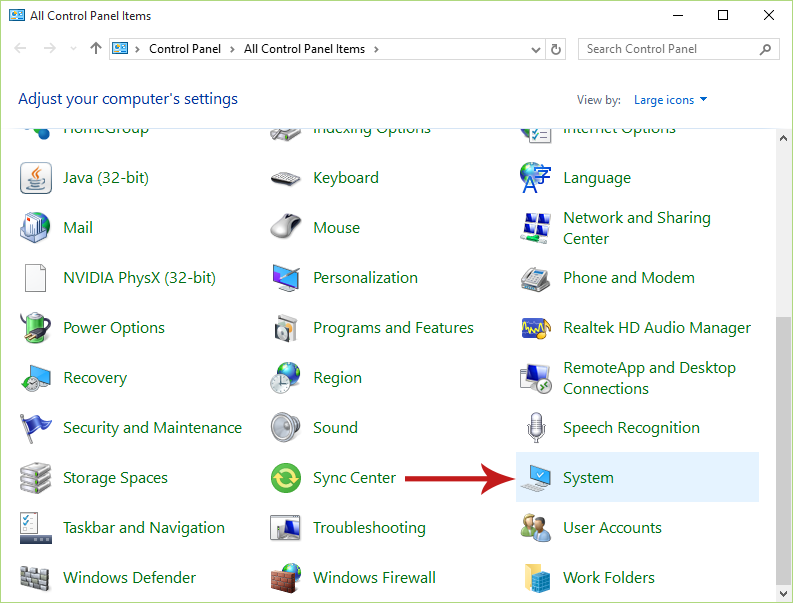
Step 3: Go to System
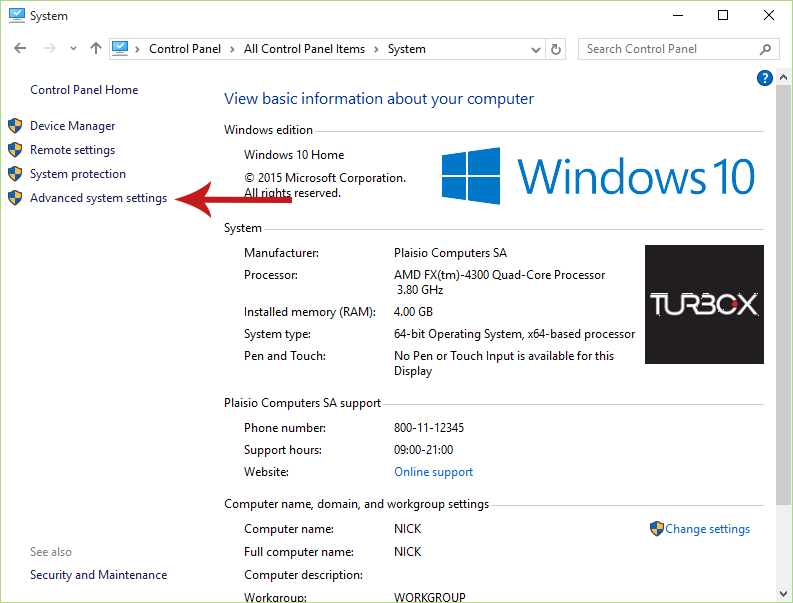
Locate the System icon and click on it.
Step 4: Select ‘Advanced System Settings’
In the current window find the Advanced system settings link located at the left side and click on it.
Step 5: Open Device Installation Settings
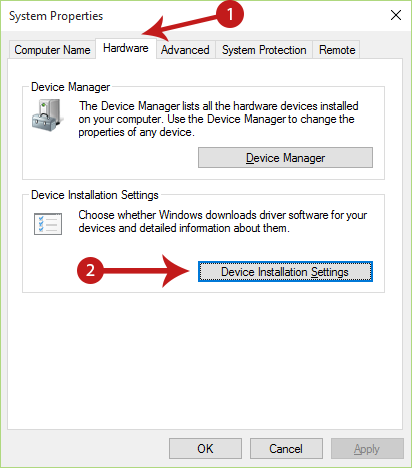
Navigate to the Hardware tab and click on the Device Installation Settings to open a new window.
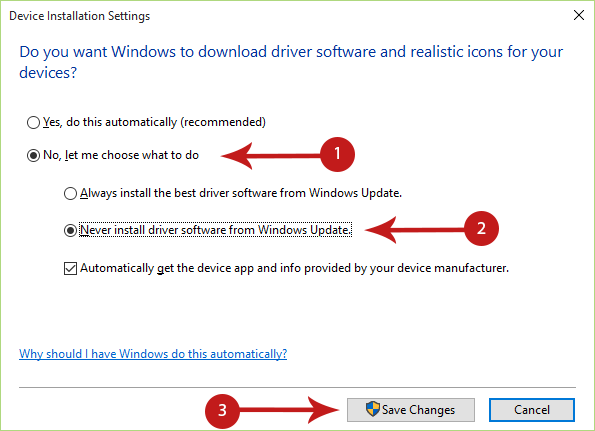
Step 6: Disable Driver Installation from Windows Update
Select “No, let me choose what to do” and from the sub-options that will appear check the “Never install driver software from Windows Update” option. Then click Save Changes.
Preventing Specific Updates from Being Installed in the Future
Since you’ve already uninstalled the troubling updates, you want to make sure that they won’t get installed again automatically, at least not until you say so
There is a way to block specific updates from being downloaded and installed again, although this process requires using a tool provided by Microsoft since there is no built-in setting in Windows 10. After blocking the selected updates with the tool, they won’t be installed again until you unblock them.
Follow the instructions below to block unwanted Windows updates from being installed:
Step 1: Download the ‘Show or Hide Updates’ Troubleshooter
Firstly, grab Microsoft’s ‘Show or Hide Updates’ Troubleshooter from here.
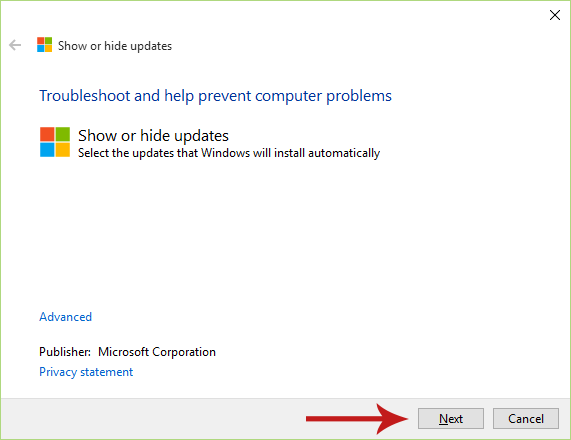
Step 2: Run the Troubleshooter
Now run the downloaded tool (wushowhide.diagcab) and click Next in the first screen.
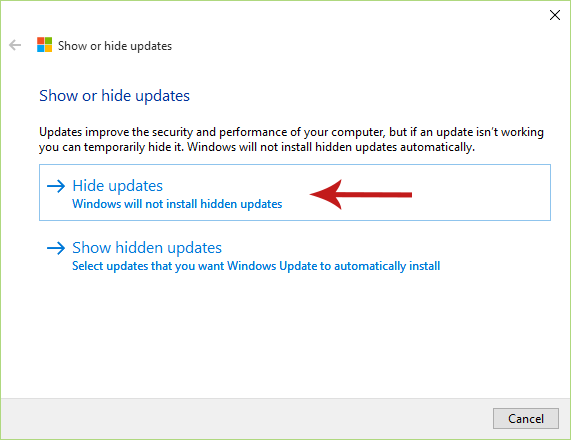
Step 3: Select ‘Hide Updates’
The tool will now scan your computer for installed updates, and then ask you whether you want to Hide updates or Show hidden updates. At this point you just want to hide updates, so click the first option (if you want to unhide updates that you’ve hidden before, then click on the second option).
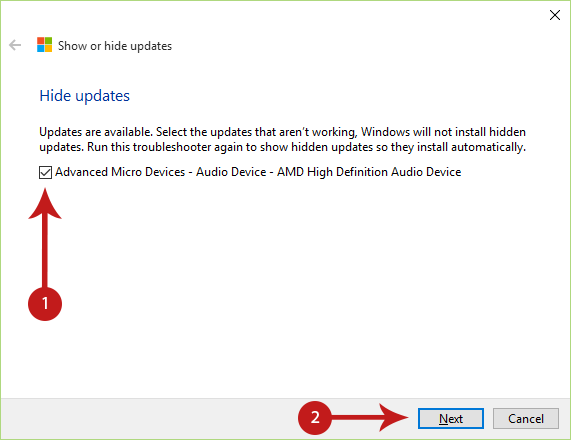
Step 4: Hide Selected Updates
You’ll be presented with a list of available updates, so check the ones you want to block and then click Next.
Done! The troubleshooter will hide the selected updates, which won’t be installed again unless you unhide them. To do that, just follow the instructions again and in Step 3 select Show hidden updates instead; then you will be asked to choose which hidden updates you want to unhide.
More information regarding Windows Updates in Windows 10 and how you can configure them can be found in the following articles:
- How to Configure Windows Updates in Windows 10
- How to Disable the Windows Update Delivery Optimization (WUDO) Feature in Windows 10
If you're having issues or just want to share your thoughts, don't hesitate to post in the comments section below!